Let’s address the obvious first so we’re all on the same page. You’re not going to be able to make literally everything in your home monochrome. Well, you could – but is that really practical?
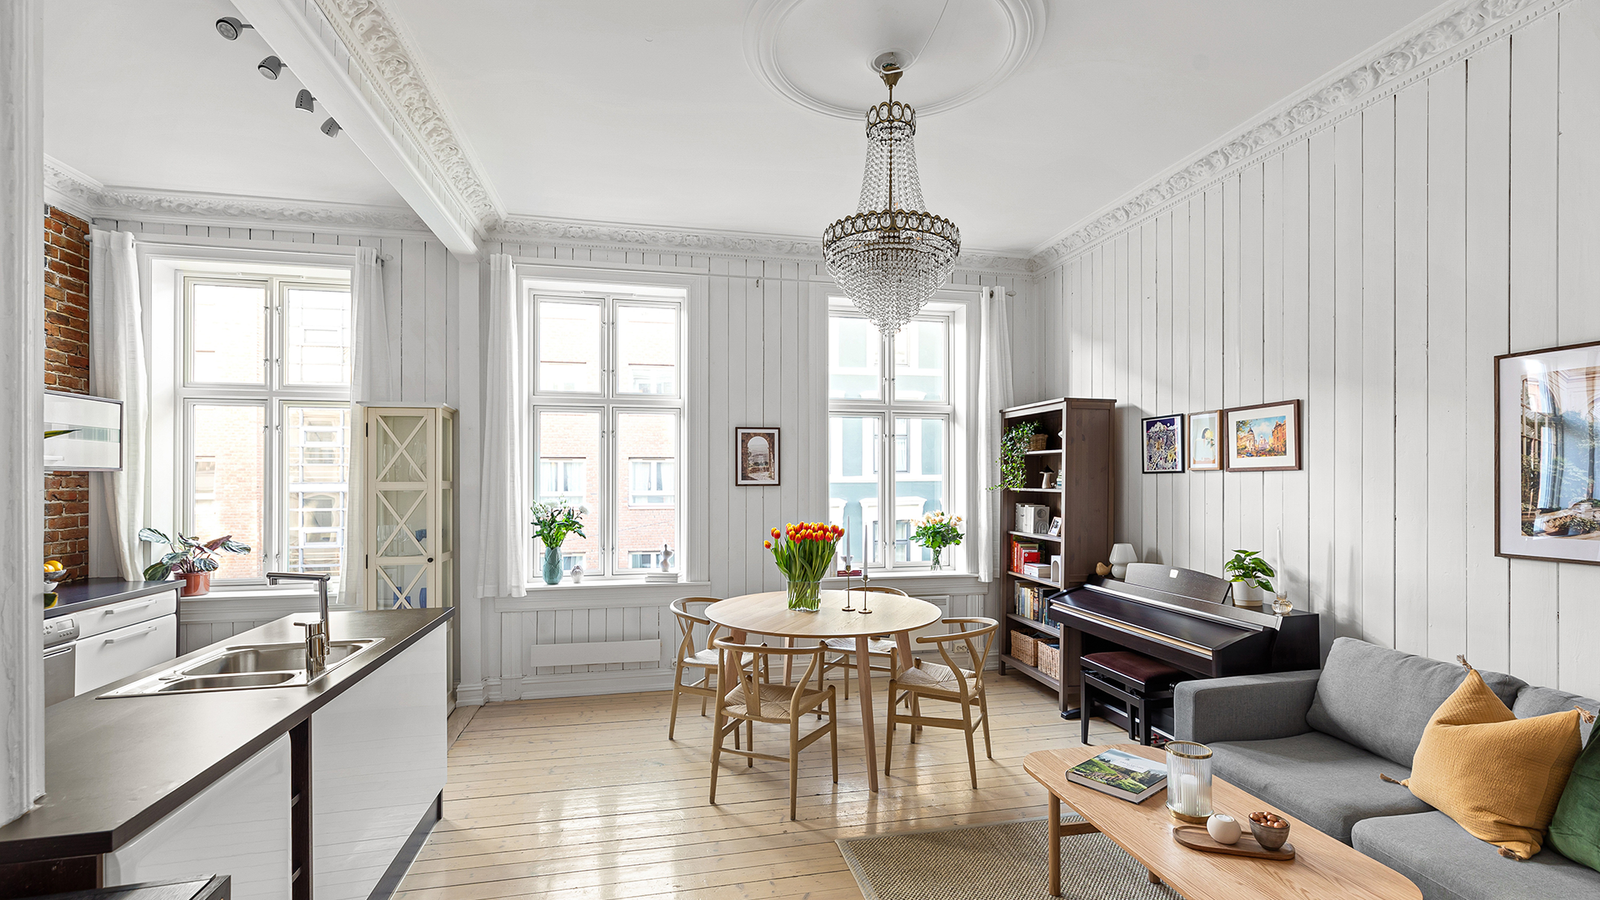
At their core, living spaces have to be functional and liveable, and that means other non-monochrome shades will naturally be a part of any room. For example, your space might have hardwood floors, or your favourite furniture pieces might be wood, so brown will be a shade you’ll have to work with. Or, if you love indoor plants like I do, then greens will also be a factor.
If you ever see a photo of a room in which literally every single item is in black, white or grey you can bet that a real life person probably doesn’t live there, or if they do the room has been “dressed” specifically for a photoshoot – not for everyday living. The reality is that other colors just have to be a part of your monochrome aesthetic if you’re going to live happily in your space. The trick is to think of monochrome as a foundation that you can build on; a common element that ties everything in your living space together, but also allows for normal every day life to happen.

Think about your own home, and no doubt you’ll have a list of favorite things that aren’t colored black, white or grey but want to keep, or even showcase. But how do we incorporate those elements, without loosing our overall monochrome color theme? More importantly how do you even get started and decide what stuff to keep, what pieces to part with and what new elements you’ll need to purchase?
Here’s how I approached it when I first started.
Step 1: Pick One Room
Like anything, a big project is much easier if you break it down into smaller, more manageable parts. So when starting on your monochrome journey, my first piece of advice is to pick one room and only focus on that. If you try to do your whole space at the same time things will quickly start to feel overwhelming.
Pick a smaller space if possible, like a second/spare bedroom (in my case I choose my home office space) or if you want to tackle a larger space like a living room pick a single section to focus on first, like alongside one wall. Breaking things down into smaller chunks will give you the headspace you’ll need while you figure stuff out.
Step 2: Assess What You Have
Once you’ve picked your space. Stop. Seriously, just take a moment to consider the room or area you’ve chosen and just sit with it for a bit. Avoid the temptation to jump to step 3 and just look at your stuff. Look at every object, every surface, the color of the walls, the floors, the ceiling, consider the furniture you have. Just take it all in and ask yourself three questions:
What stuff do you already have that fits the monochrome aesthetic (i.e. identify all the things you have that are black, white, creme, grey and metallic). These are things you’re going to want to keep.
What items do you have that are not monochrome? Now, this is the hard part because it potentially means you may have to say goodbye to things that perhaps (but not necessarily) won’t work within the confines of your black-grey-white space. But as we’ll see there are ways to handle it should you decide you can’t part with that brightly colored object! But for now, just take a mental inventory of all those non-monochrome homewares and at the very least identify the stuff you can happily say goodbye to.
What else will I need to complete the look? This is where you’ll need to start making a list of things you’ll need to purchase. Think about what you’ll need to buy to build-out your monochrome space, think about the big pieces of furniture, the soft furnishings and even the walls and floors.
Step 3: Declutter The Small Stuff
Step three is where the fun begins. Grab a few boxes and start removing all the smaller non-monochrome items you have. Put everything that isn’t black, grey, white or metallic into a box so that all you’re left with are your big pieces of furniture and the stuff you already have that is monochrome. When I first performed this exercise in my home office I ended up with two piles of boxes – a pile of stuff that I was happy to part with, and a pile of stuff I still wanted, but that wasn’t monochrome. The pile of stuff I wanted to keep was much bigger (not surprising given it was an office space with lots of books) and unless you’re the ruthless, non-sentimental type who’s ok to start from scratch, you’ll probably end up with something similar. And that’s ok – as we’ll see…
Step 4: Reimagine Your Non-Monochrome Stuff
Next, take another look at the items you’ve compiled in that box of non-monochrome items that you want to keep and group them into the following:
What items can you easily repurpose so that they become monochrome? Just because something is in a bold, bright color doesn’t mean it has to stay that way – for example:
Framed photos can be “monochromed” by simply swapping the frame, or if you really want to go the extra mile, print out a new copy of the photograph in black and white.
If you have a lot of books with lots of different colours you can position them with the spine facing away from you so only the pages show (a neat little trick interior designers often use). If it’s a hardback book, remove the dust jacket and see what the colour of the boards and binding are – chances are good a lot of these will be monochrome. Or you can do what I did and create some custom dust jackets that fit over the top of the originals.
Don’t forget the power of spray-paint! I had a pair of candle sticks the shape of which I really loved but they were in bright, angry red. All they needed to fit my monochrome home was a few coats of white spray paint! It can be as easy as that.
Cover it! An age-old design tactic – if you have something larger that maybe doesn’t quite fit the aesthetic you’re going for but don’t have the budget to replace it, consider just covering it. Got a brightly colored sofa or armchair? Cover it with a monochrome throw and some cushions. Got a piece of furniture that doesn’t quite match? Paint it, or cover it in vinyl wrap. Camouflage is one of the greatest secrets when it comes to design!
Step 5: Start Checking Off Your Shopping List
I said that step three is where the fun begins, but if you like shopping then this is probably where the real sweet spot is. Once you have chosen and decluttered your space and repurposed existing items into monochrome, you can start shopping for what else you’ll need. As fun as this part sounds, it’s also the part that takes the most time and the most money, so go slow, pick items carefully and understand how much funds you have available so that you don’t break the bank.
And remember, you don’t have to spend a whole lot buying high end products that cost the earth to achieve that stylish and timeless monochrome look. Just the opposite! With places like Amazon and Temu readily available you can easily find cheaper alternatives for almost anything. Here at Home In Monochrome we’ll regularly share products that are both monochrome-friendly and budget-conscious. Look out for future articles where we’ll share some of our top picks!


